Set up Alchemy as Your Client
👋 New to Alchemy? Get access to Alchemy for free here.
Want to integrate Alchemy into your production app?
Find out how to set up or switch your current provider to Alchemy by using the Alchemy SDK, the easiest and most powerful way to access Alchemy’s suite of Enhanced APIs and tools.
If you have an existing client, change your current node provider URL to an Alchemy URL with your API key: “https://eth-mainnet.g.alchemy.com/v2/your-api-key”
Note: The scripts below need to be run in a node context or saved in a file, not run from the command line.
The Alchemy SDK
There are tons of Web3 libraries you can integrate with Alchemy. However, we recommend using the Alchemy SDK, a drop-in replacement for Ethers.js, built and configured to work seamlessly with Alchemy. This provides multiple advantages such as automatic retries and robust WebSocket support.
1. From your command line, create a new project directory and install the Alchemy SDK.
To install the Alchemy SDK, you want to create a project, and then navigate to your project directory to run the installation. Let’s go ahead and do that! Once we’re in our home directory, let’s execute the following:
With Yarn:
With NPM:
2. Create a file named index.js and add the following contents:
You should ultimately replace demo with your Alchemy HTTP API key.
Unfamiliar with the async stuff? Check out this Medium post.
3. Run it using node
4. You should now see the latest block number output in your console!
Woo! Congrats! You just wrote your first web3 script using Alchemy and sent your first request to your Alchemy API endpoint 🎉
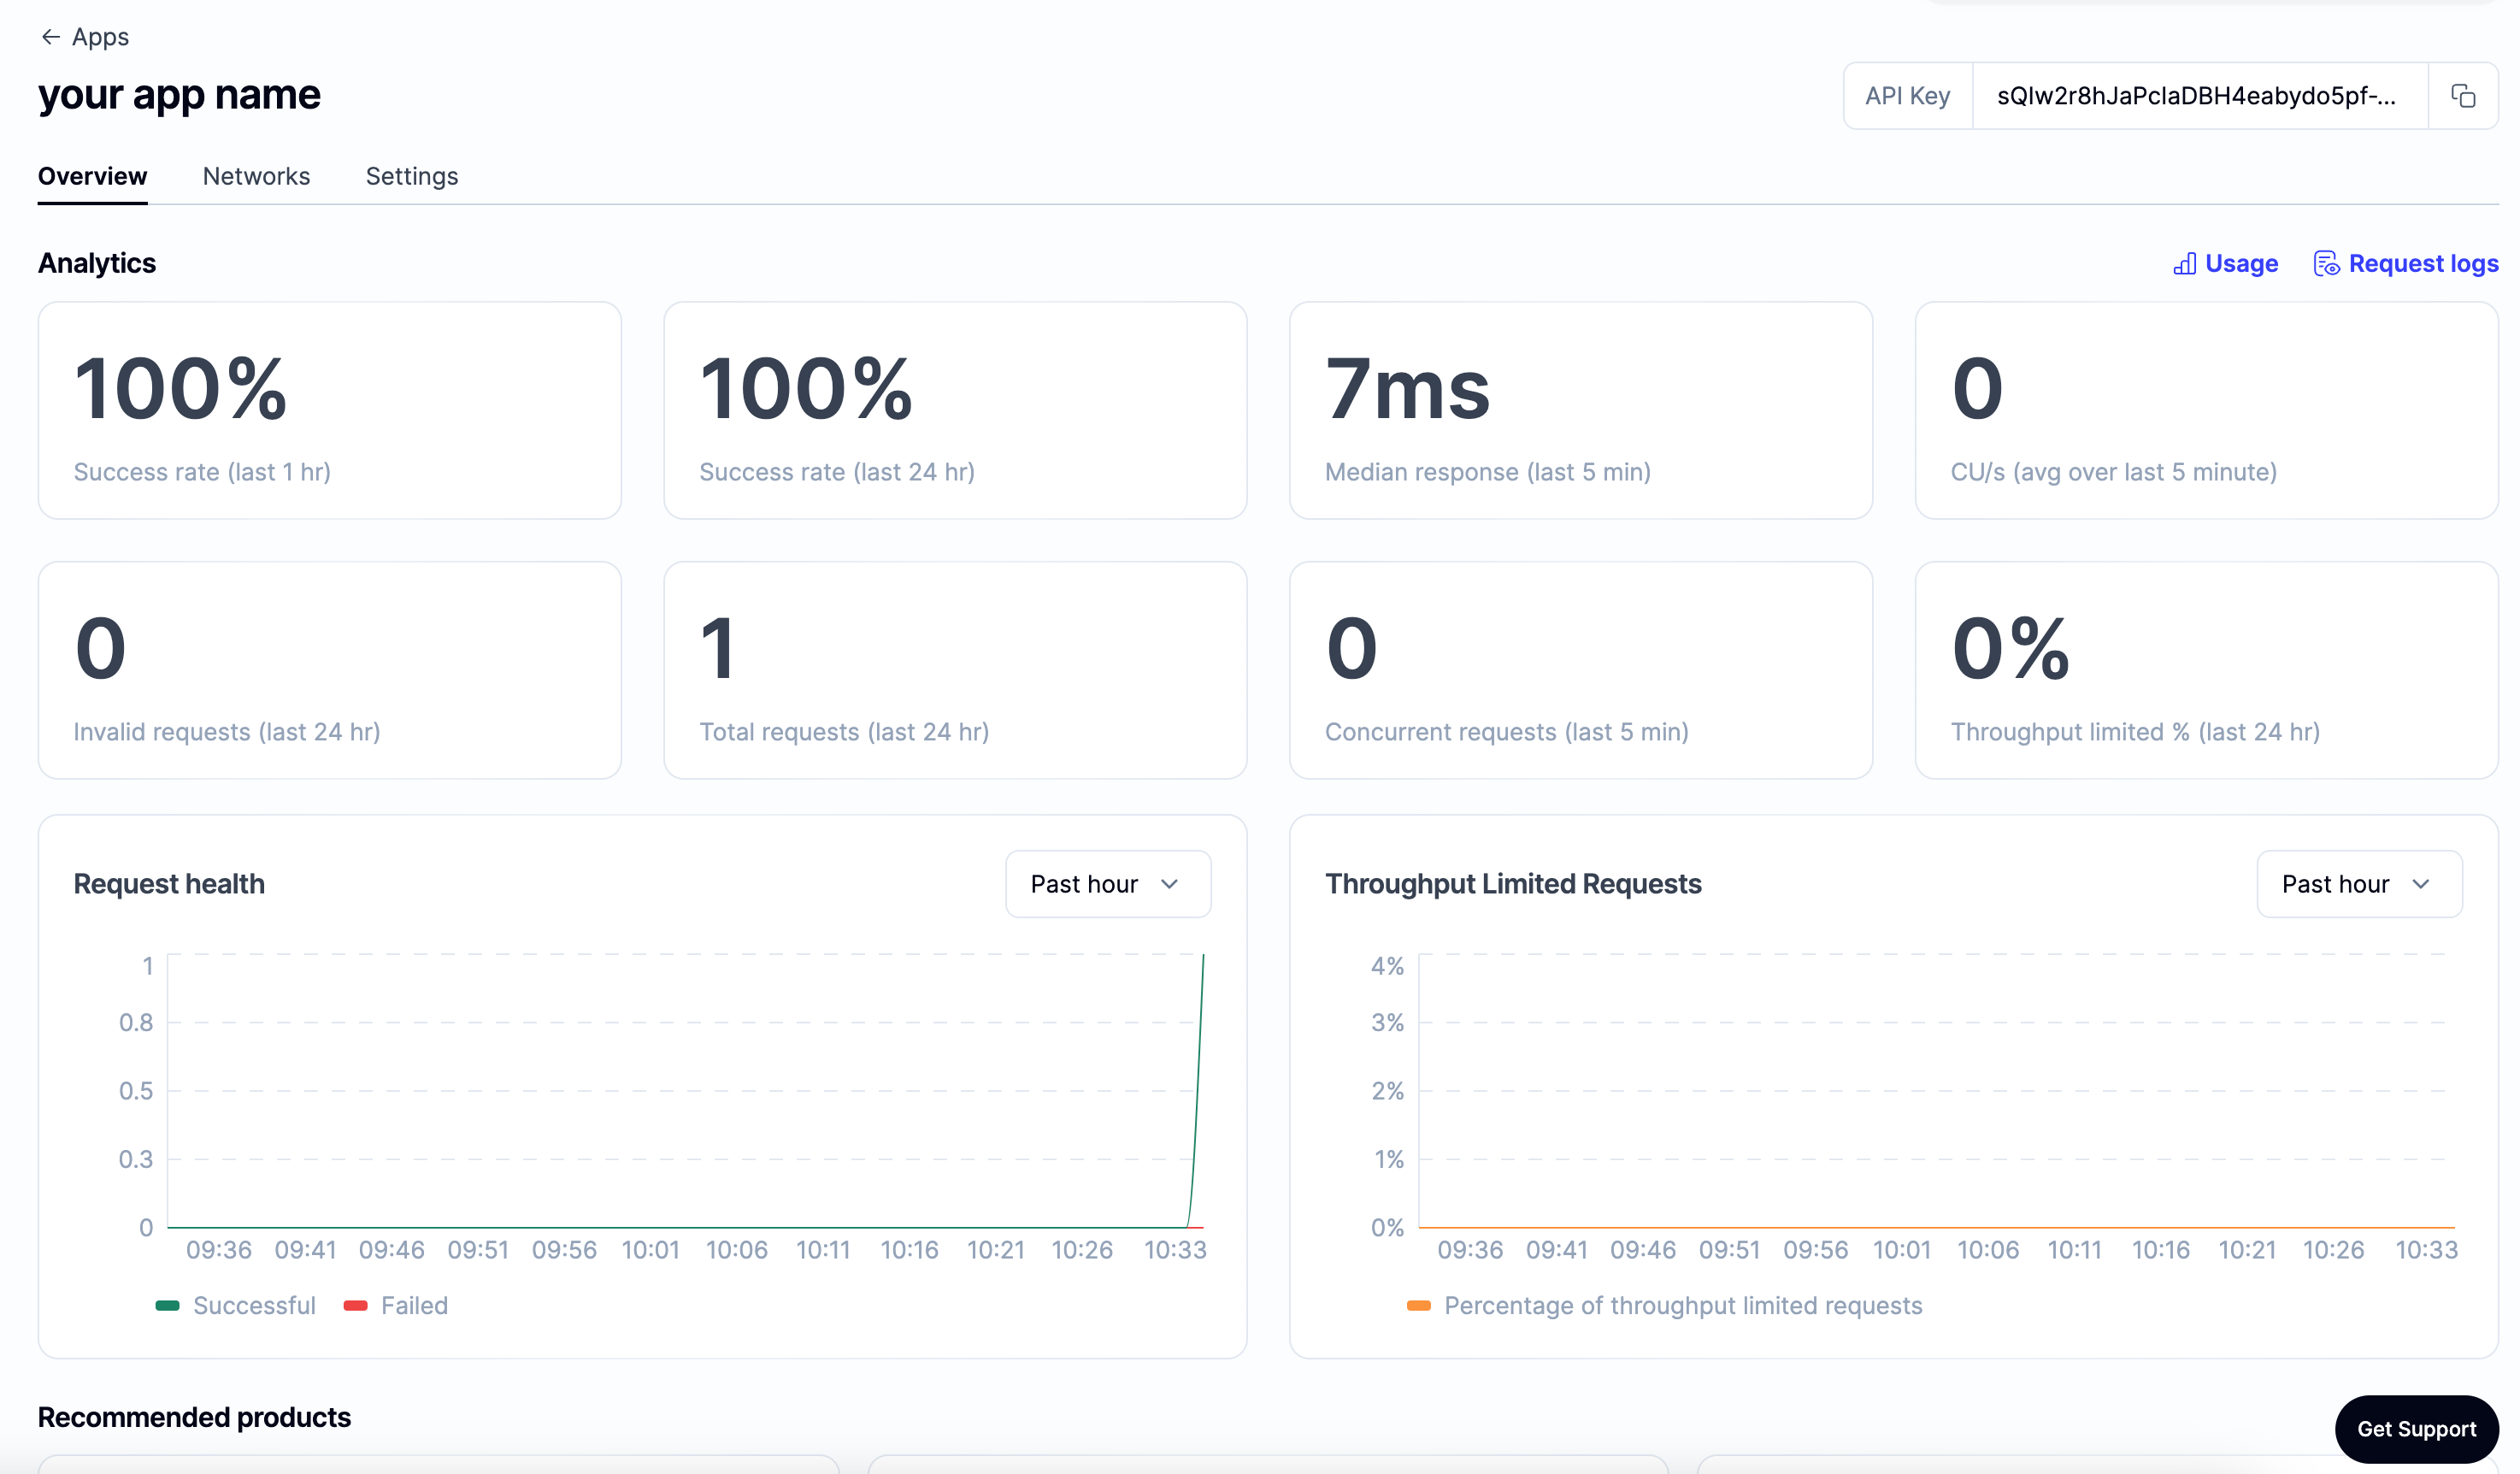
The app associated with your API key should now look like this on the dashboard: