In this guide, you'll wire up viem's bundler client to Alchemy's bundler with a Modular Account V2 from @alchemy/smart-accounts and send a user operation. This is the advanced path; if you don't need this level of control, use @alchemy/wallet-apis instead.
- API key from your dashboard
- TypeScript 5+ and the packages below
Installation
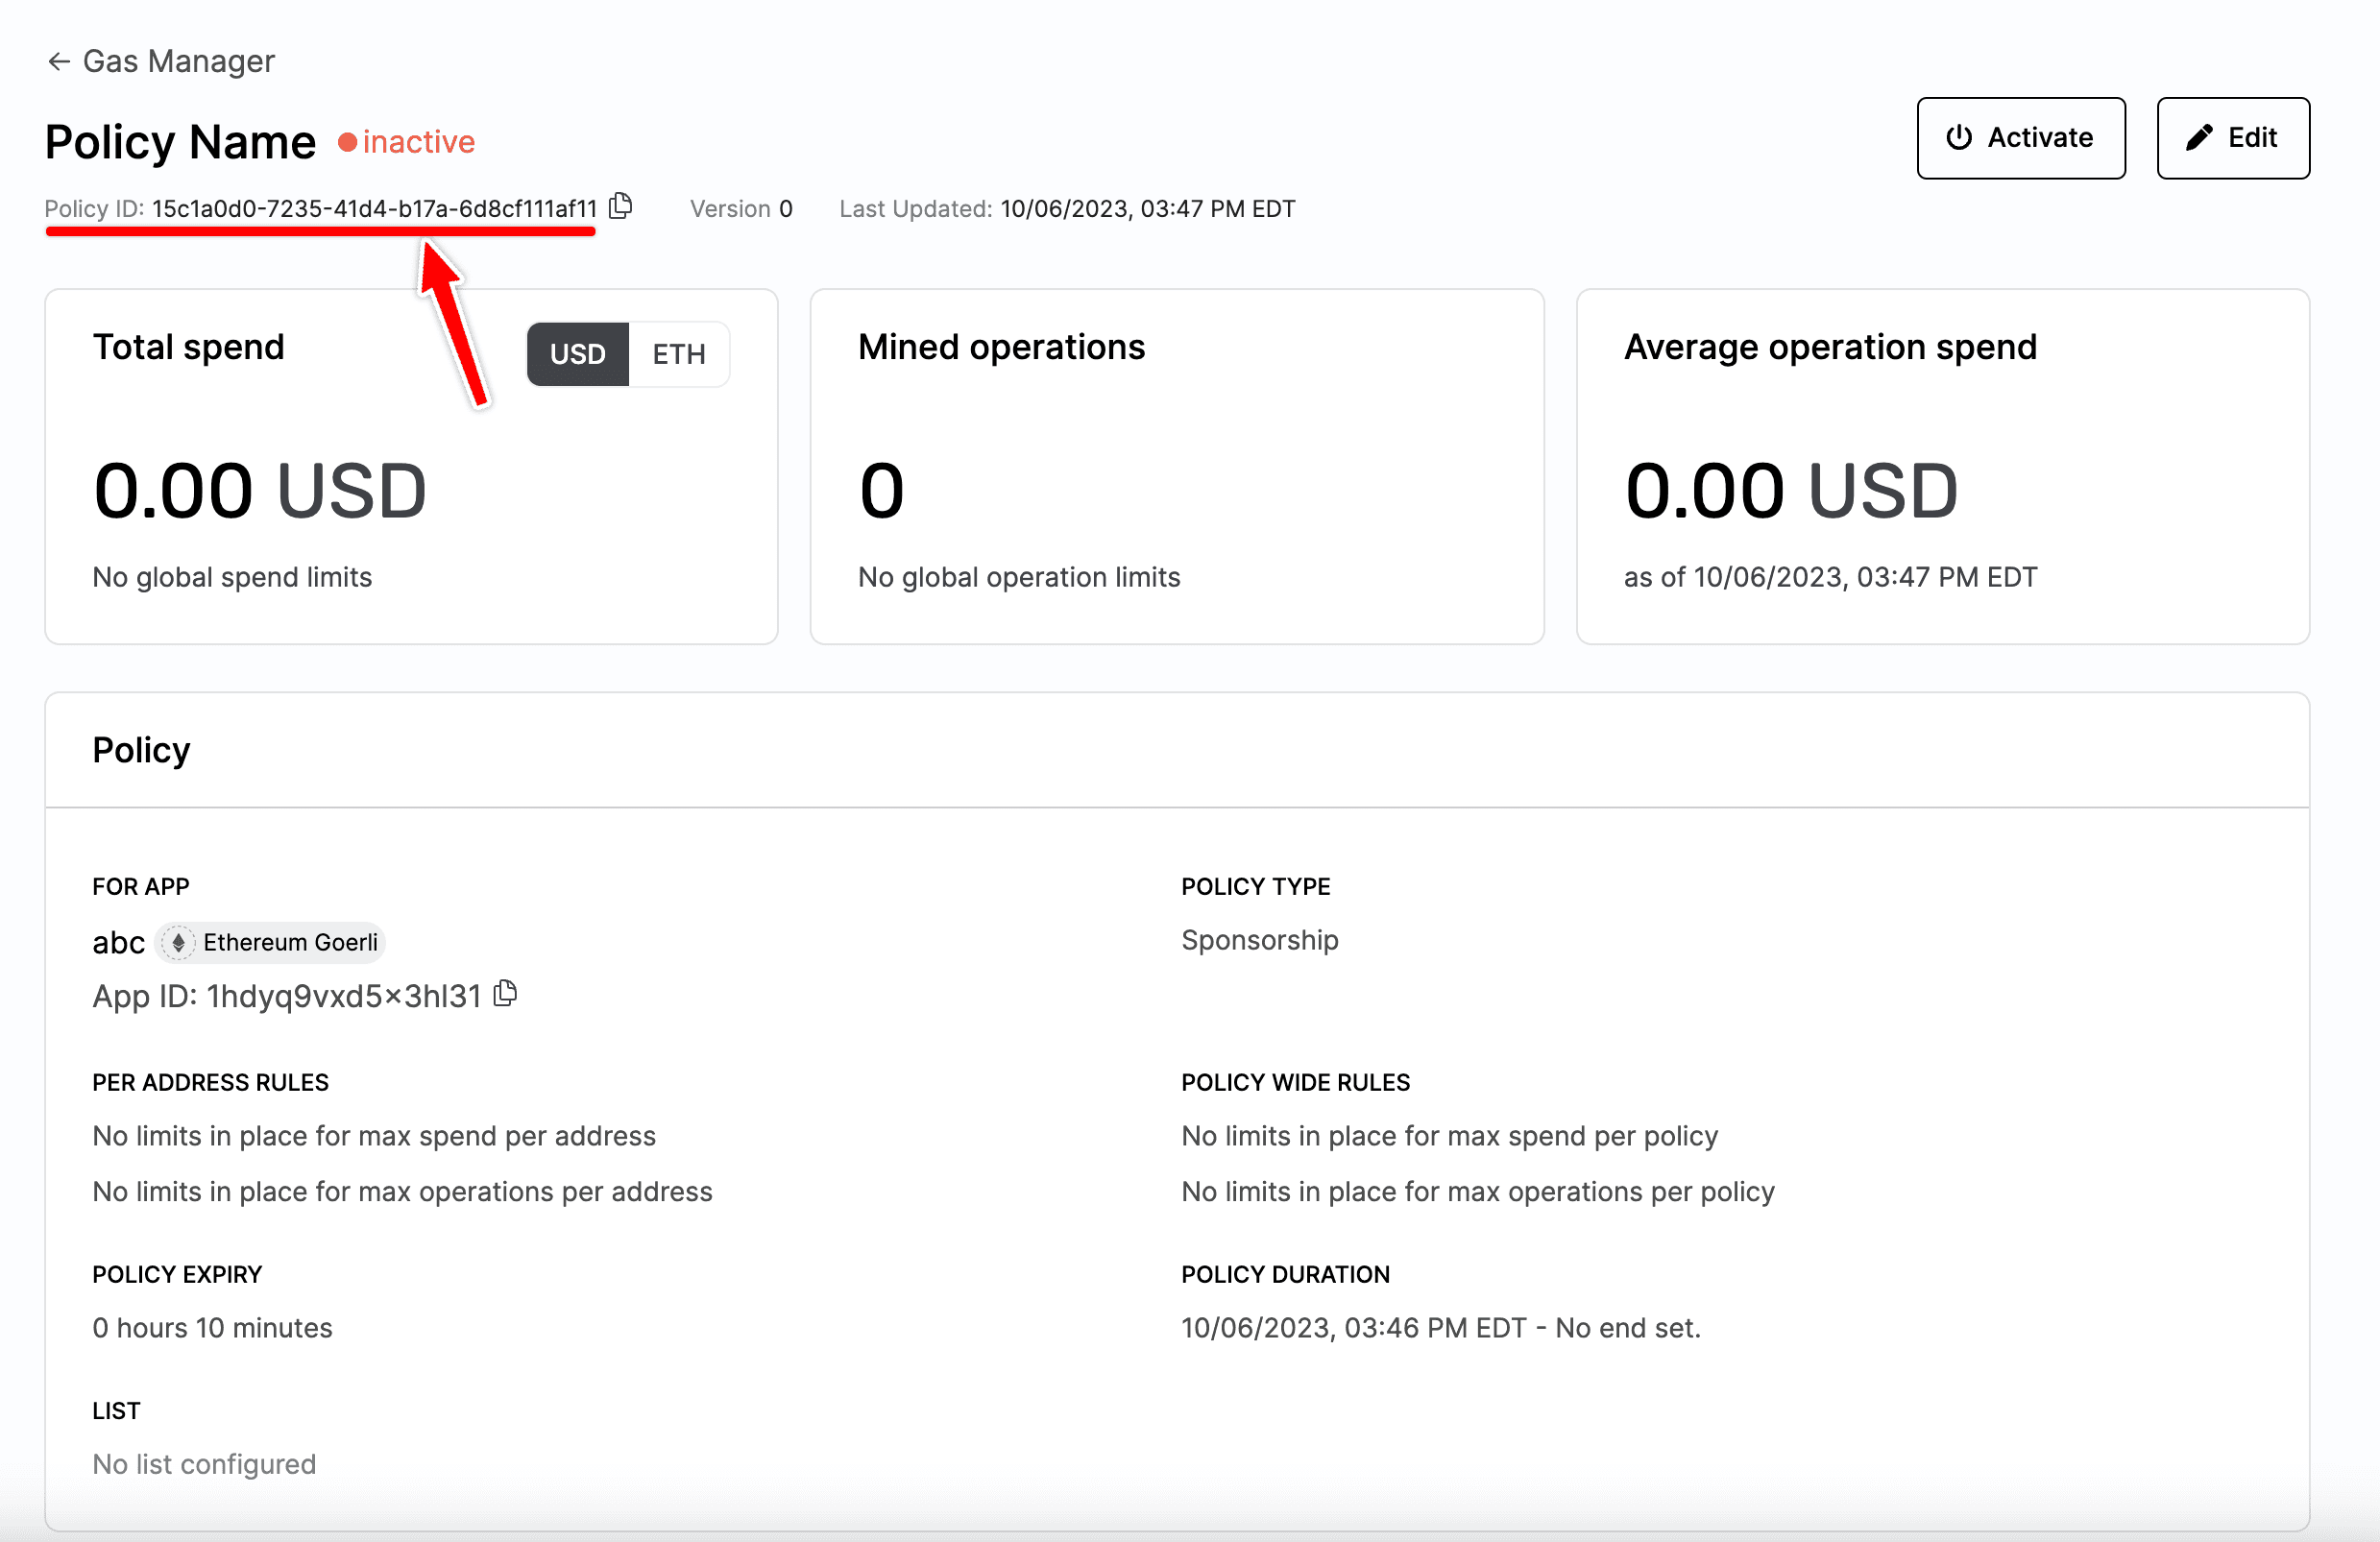
yarn add @alchemy/common @alchemy/aa-infra @alchemy/smart-accounts viemIf you want to sponsor gas, create a policy in the Gas Manager dashboard.
A gas manager policy is a set of rules that define which transactions are eligible for gas sponsorship. Control which transactions are eligible for sponsorship by defining rules:
- Spending rules: limit the amount of money or the number of transactions that this policy can sponsor
- Allowlist: restrict wallet addresses that are eligible for sponsorship. The policy only sponsors gas for transactions sent by addresses on this list.
- Blocklist: ban certain addresses from receiving sponsorship under this policy
- Policy duration: define the duration of your policy and the sponsorship expiry period. This is the period for which the gas sponsorship data remains valid once generated.
To learn more about policy configuration, refer to the guide on setting up a gas manager policy.
Once you have decided on policy rules for your app, create a policy in the Gas Manager dashboard.
You should now have a gas policy created with a policy ID you can use to sponsor gas.
Replace YOUR_API_KEY and POLICY_ID with the values from the steps above.
import { sepolia } from "viem/chains";

export const chain = sepolia;
export const ALCHEMY_API_KEY = "<YOUR_API_KEY>";
export const policyId = "<POLICY_ID>";import { getClient } from "./client";
const client = await getClient();
const hash = await client.sendUserOperation({
calls: [
{
to: "0x0000000000000000000000000000000000000000",
value: 0n,
data: "0x",
},
],
});
const receipt = await client.waitForUserOperationReceipt({ hash });
console.log("Mined:", receipt.receipt.transactionHash);