Hyperliquid Transactions Quickstart
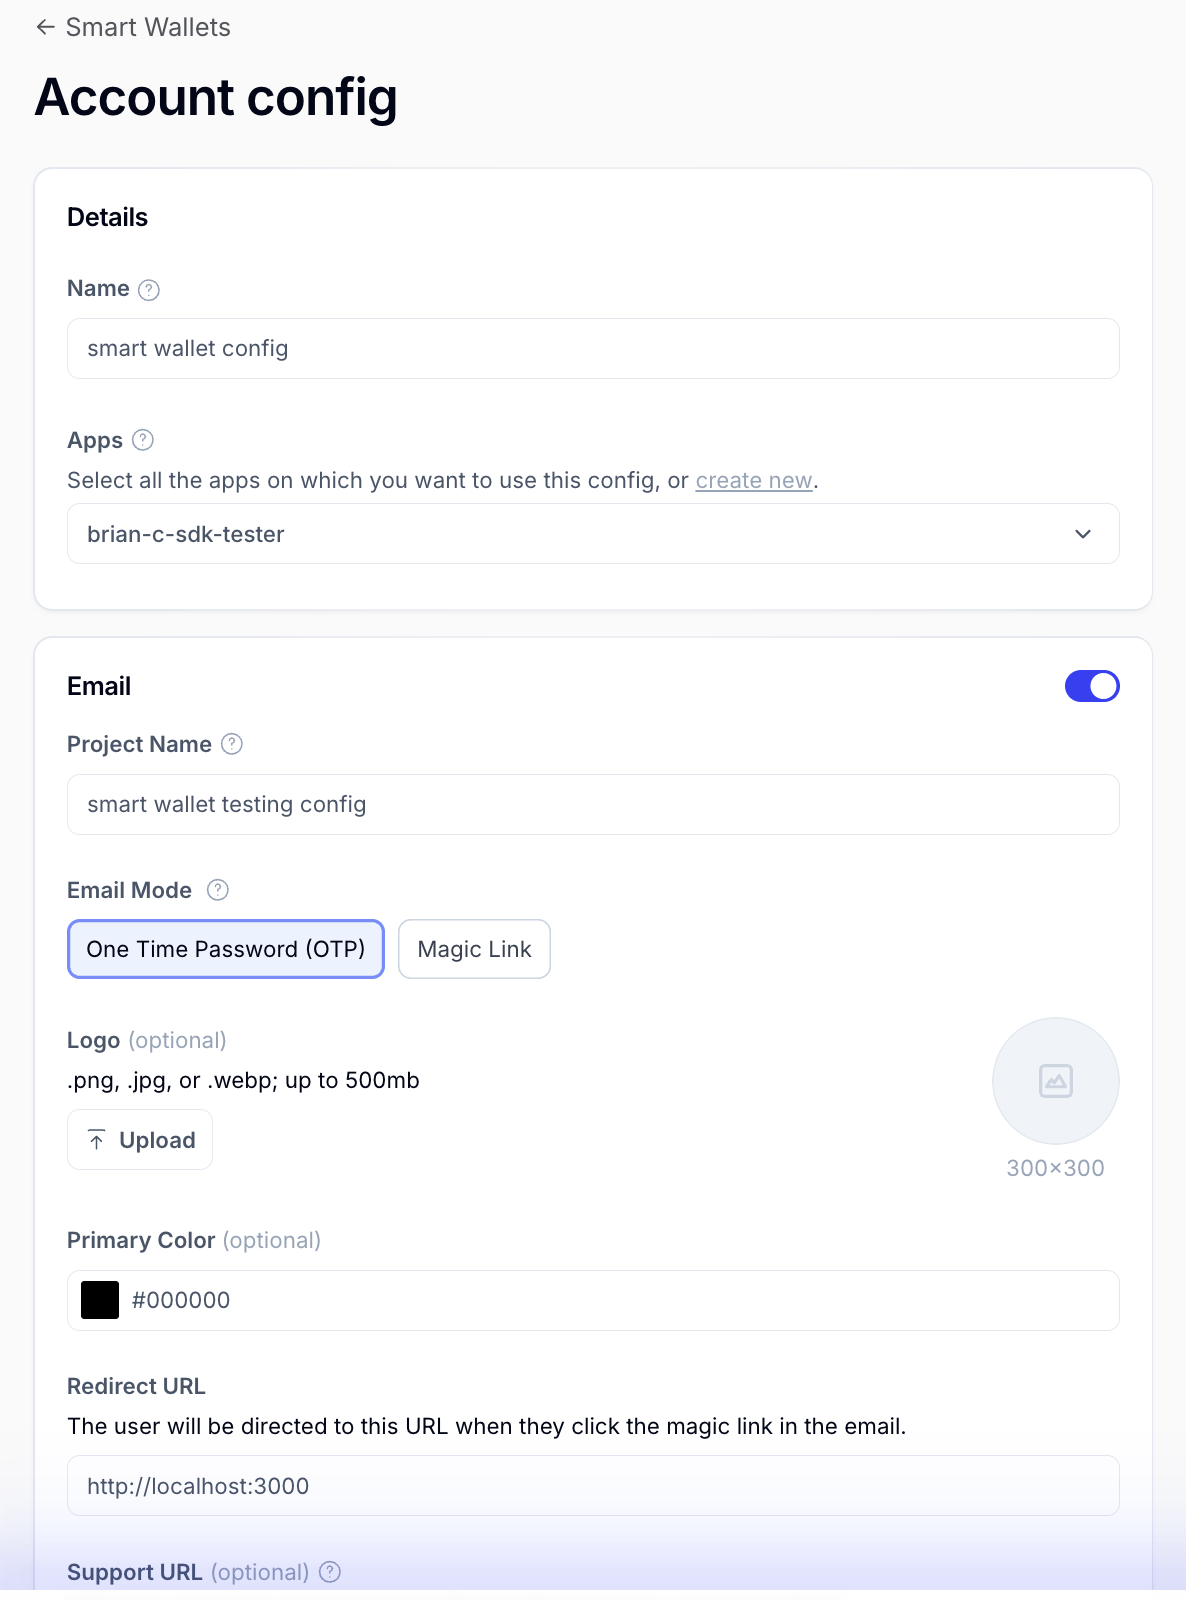
By the end of this tutorial, you’ll have an application integrated with Alchemy Wallets, enabling email and social login for user authentication, and the ability to sign and send transactions seamlessly.
Getting Started Instructions
1. Create a Custom Chain Config
Extend viem’s custom chains to create a chain definition for HyperEVM, as it’s not a defined chain on viem yet. This is the chain config you’ll be passing into your viem client in step #3.
Wrap it in defineAlchemyChain to create an alchemy chain to pass into your config.tsx
2. Set Up Web2 Login with an Alchemy Signer
Working with React?
Follow this Quickstart guide to set up a new project.
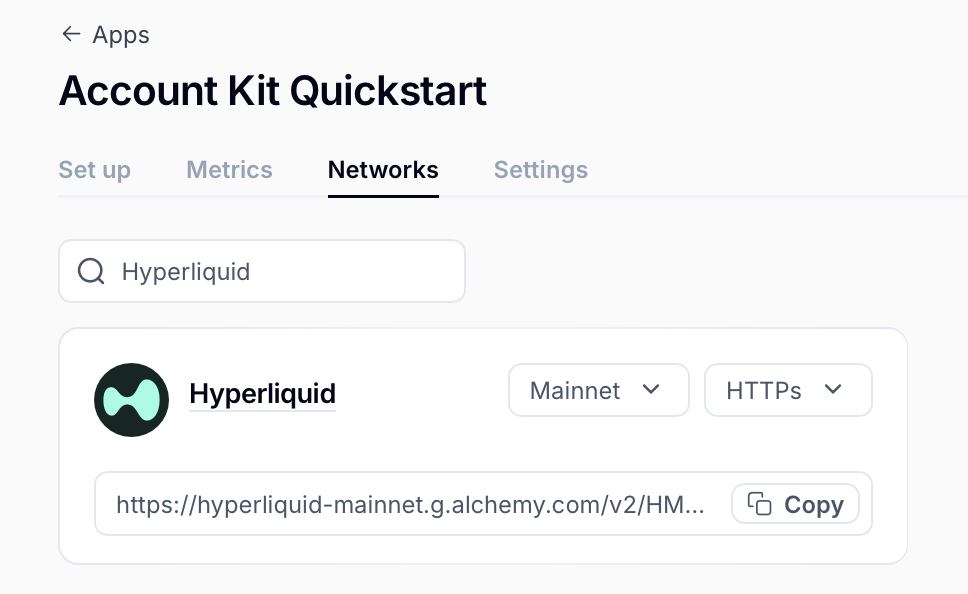
The most important step is getting your API Key (NEXT_PUBLIC_ALCHEMY_API_KEY) and ensuring your project is configured correctly on your dashboard. Make sure you have Hyperliquid enabled as a network on your app.


Next, navigate to your page.tsx, and get the embedded EOA address using useSigner(). This new embedded EOA, also known as a signer, will be where users assets live and will sign transactions.
Note: in order access your embedded EOA created by Alchemy Signer, you need to have finished authentication. To check your authentication status, you can check useSignerStatus(). For example:
Not Working With React?
That’s okay! We have lower level methods we can leverage here to access your signer!
You can follow this Quickstart, to use our ‘@account-kit/signer’ package directly to create and use our wallets.
Create a Signer Instance
Authenticate a User
Next, you’ll need to authenticate your user before you can use the signer. In this example, we use email auth, but we support a number of other auth methods. Check out our guides to complete authentication.
Once you finish authenticating, you can access your signer!
3. Send Transactions
Got your signer/embedded EOA address? Now you are ready to send transactions! Alchemy signer supports signing messages as raw hashes. You can use methods including signMessage, signTypedData, and signTransaction.
Then you can use a generic wallet client to send transactions! For example, if you are using viem, then you can use the toViemAccount method which will allow you to use the signer with a WalletClient.
4. Sponsoring User Operations
Alchemy gas sponsorship lets your users send transactions on HyperEVM without holding the native token for gas. To start, make sure you have a gas policy ID configured in your app dashboard and pass it to your client initialization. Learn more in Sponsor Gas.
As an example, we will be sponsoring a HyperEVM user operation opening a limit order, using the HyperCore Writer contract. Start by creating some helpers to encode the call.
Using React
If you are working in React, you can use the useSendUserOperation hook. Make sure you have set up your config from step 1.
Without React
If you are not using React, you can send the same user operation directly with the Modular Account V2 client in account-kit, passing in the chain config from step 1 and signer from step 2.