
How to get Testnet SOL tokens from a Solana faucet
Written by John Favole
When developing on Solana, you'll need SOL tokens to deploy your smart contracts or your programs, as Solana calls them. But when you're testing the programs out during the development stage, real SOL tokens won’t work. Instead, you’ll need test SOL tokens to deploy smart contracts to the Solana Devnet and Testnet.
This article will show how to install the Solana CLI, create a new wallet from the command line, request Devnet SOL tokens from the CLI and from a user-friendly Solana faucet website.
What is a Solana faucet?
A Solana faucet is a helpful tool where Solana developers can get free test SOL tokens to deploy their programs on Solana's Devnet. Solana faucets work on both the Solana Testnet and Devnet for public use.
You can’t transfer or use these SOL tokens to Solana's mainnet or cash them out as they’re solely used by developers and testers to test Solana programs and dApps.
Before you can start using a Solana faucet to get free Devnet SOL tokens you need to complete a few prerequisite steps.
Two prerequisites – install Solana and create a wallet
Before you can get Solana testnet faucets, you need to have some prerequisites – especially for the sake of those just starting Solana development.
1. Install the Solana command line interface (CLI)
First of all, you need to install the Solana CL interface, one of the fundamental Solana developer tools. For this quick guide, we’ll use Windows.
Open your command prompt as an admin, then run this code so you can get the Solana installer into your transient directory:
After downloading the Solana installer, the next step is to install Solana itself on our Windows.
Run this command:
When you are done, your CLI should look like this:

Now, ensure your Solana CLI is properly installed by opening a new command line interface, not as an admin, and run this code:

2. Create a Solana wallet
You will need a wallet where you can receive the free Solana faucet tokens, and there are multiple types of wallets you can use including browser-based wallets, hardware wallets, paper wallet, or file system wallets.
If you're unfamiliar with the command line, you can connect to Solana's devnet with Phantom, the most popular Solana wallet.
Once you're in your Phantom wallet, switch to Devnet by following these steps:
- Click the settings (i.e. gear) icon
- Scroll down and click "Change Network"
- Select Devnet
For this tutorial, we will stick to a paper wallet to help new web3 developers building on Solana.
To create a paper wallet from the command line, run this script to get your seed phrase:
It will ask you for a passphrase which you will have to set, after which your public key and seed phrase will be displayed.
In this example, our pubkey, or wallet address, is B5T1kz7LhoTLqWmVvrAFTVb47f6BfXgov4kYTqo8kH7g.
In Solana development terminology, a wallet address is often used interchangeably with the term pubkey.

Once you have your prerequisites, let’s access one of two different types of Solana faucets.
What are the two types of Solana faucets?
There are two types of Solana faucets, the command line Solana faucet and a Solana faucet website the provides a graphical user interface (GUI) for easily getting test SOL tokens. You can get your devnet tokens from either method. Choose the method that is more convenient for you.
1. Get test SOL from a command line Solana faucet
You don’t need to go far to secure your free Solana faucet. You can access it directly from your command line.
Use this script to receive test SOL tokens from the command line:
Replace the recipient account address with the pubkey you generated earlier. Other things being equal, you will get 2 SOL into your paper wallet.

Close that interface and open another one to confirm if the tokens are in your wallet.
Paste this code snippet:
If you did it properly, this is what you should see in your terminal:

2. Get test SOL from a Solana faucet website
If you are using a Phantom wallet to get test SOL tokens, you can easily request free Devnet SOL tokens from a Solana faucet website with a visual user interface.
All you have to do is follow three simple steps:
- Copy and paste your Solana wallet address into the input field
- Select Devnet as your network
- Set the number of tokens you'd like to receive
The max you can request is 10 SOL on this website. Below, you can see we requested 4 SOL.
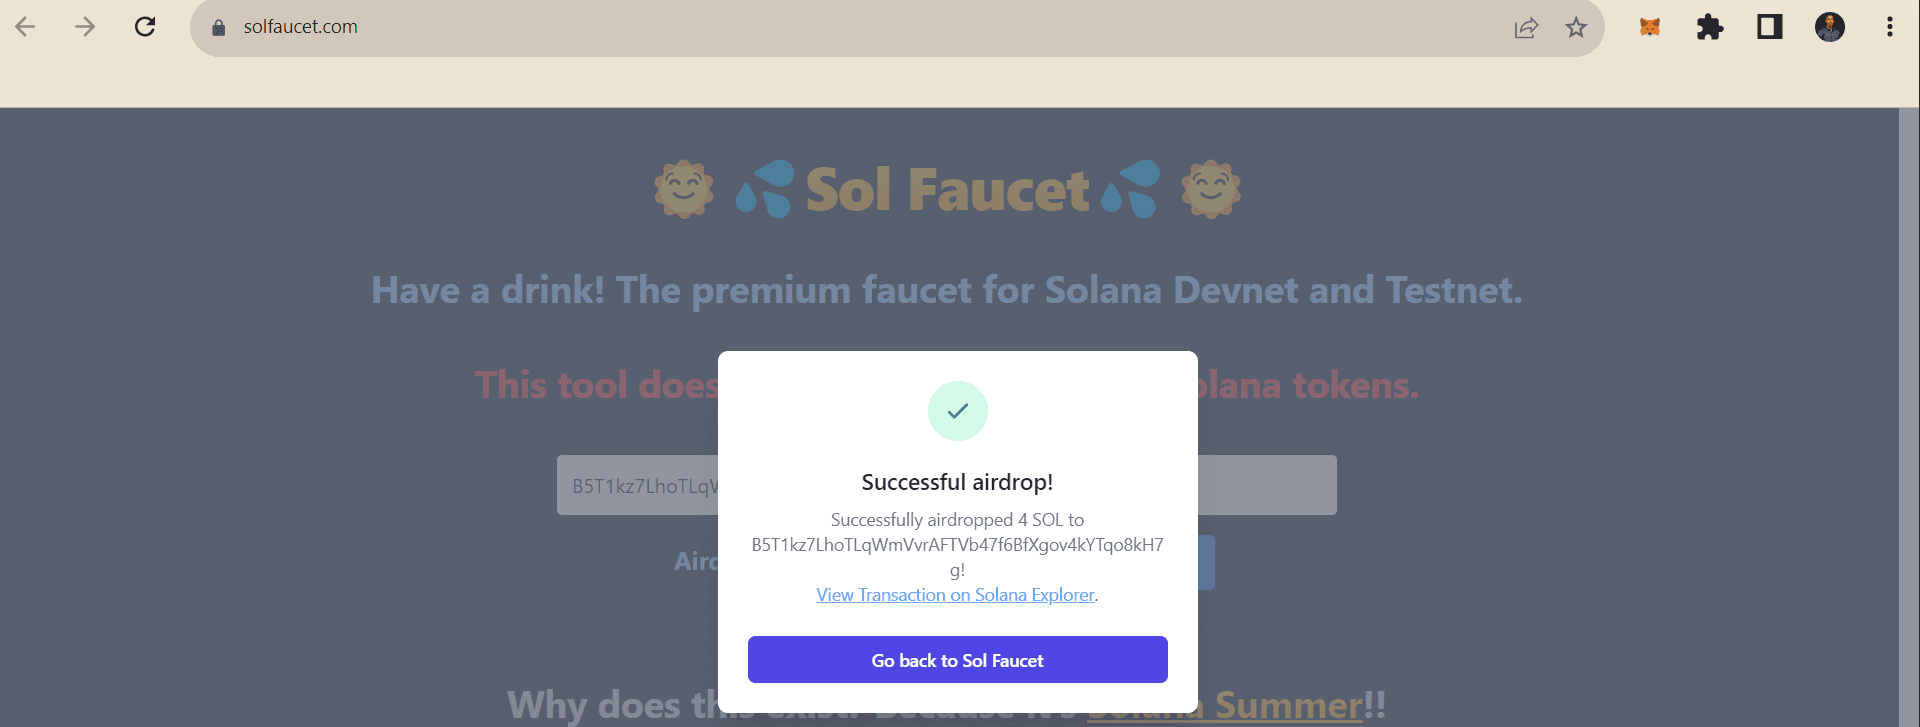
There you have it!
In this guide, we showed you how to access a Solana faucet from your command line or by using a user-friendly Solana faucet website.
If you are building a project using the Solana API, get free Solana RPC access when you sign up for a free Alchemy account.
Related Overviews


Build blockchain magic
Alchemy combines the most powerful web3 developer products and tools with resources, community and legendary support.