Increase your throughput capacity without leaving the dashboard
Author: Uttam Singh

A launch, a mint, or an indexing backfill can push an app past its throughput capacity in under a minute. The good news is that on paid plans your team can now raise that capacity itself, without talking to us. Open the Usage page in your dashboard, pick the extra capacity you need, and confirm. The new base applies within seconds.
You can cancel the add-on from the dashboard whenever you want. The added capacity stays active through the current billing period, then your team returns to its base throughput capacity.
What is throughput capacity?
Throughput is how fast you can send us requests, measured in compute units per second (CU/s). We meter the total cost of your requests rather than the raw request count, because every RPC method carries its own compute unit cost depending on how much work it takes to serve.
Sizing the capacity requirement takes a little more than adding those costs up. The cost table carries a CU column and a separate Throughput CU column, and for some methods the two differ, so a call that is cheap against your monthly usage can still be expensive against your throughput. Work from the Throughput CU column when you size your capacity.
- The capacity is allocated at the account-level, not per app. Throughput used to be set per app and is now configured across your whole account, so the combined usage of every app on your team counts toward one number. Spinning up a second app does not buy you more headroom.
- We measure over a 10-second rolling window. Our throughput docs describe a token bucket evaluated across 10 seconds, so a 10,000 CU/s limit gives you 100,000 compute units in any 10-second span. A short burst passes, while traffic that stays above the line comes back from our edge layer as an HTTP 429 (too many requests).
The window matters more than the number does. A workload can sit comfortably under its limit on average and still get throttled at the peak, which is why a 429 usually surprises the team that gets one.
How does the throughput upgrade work?
Open the Usage page in your dashboard, find the throughput section, and choose Upgrade limit. You need to be a billing admin on your team to see the control. The capacity dropdown lists each increment with its monthly price next to it, so you see the cost before you commit to anything. The same page shows a banner when recent team usage exceeded your current throughput capacity, and clicking it drops you into the upgrade flow.
What happens after you confirm:
- Upgrades apply immediately and renew monthly. The new capacity is enforced within seconds of confirming.
- Downgrades take effect at the end of the billing cycle. If you cancel, the extra capacity stays active until then, so a backfill that runs long does not fall off a cliff.
- When no full self-serve increment remains, the dashboard points you to contact sales. Our team can configure a higher throughput limit than the dashboard offers as self-serve.
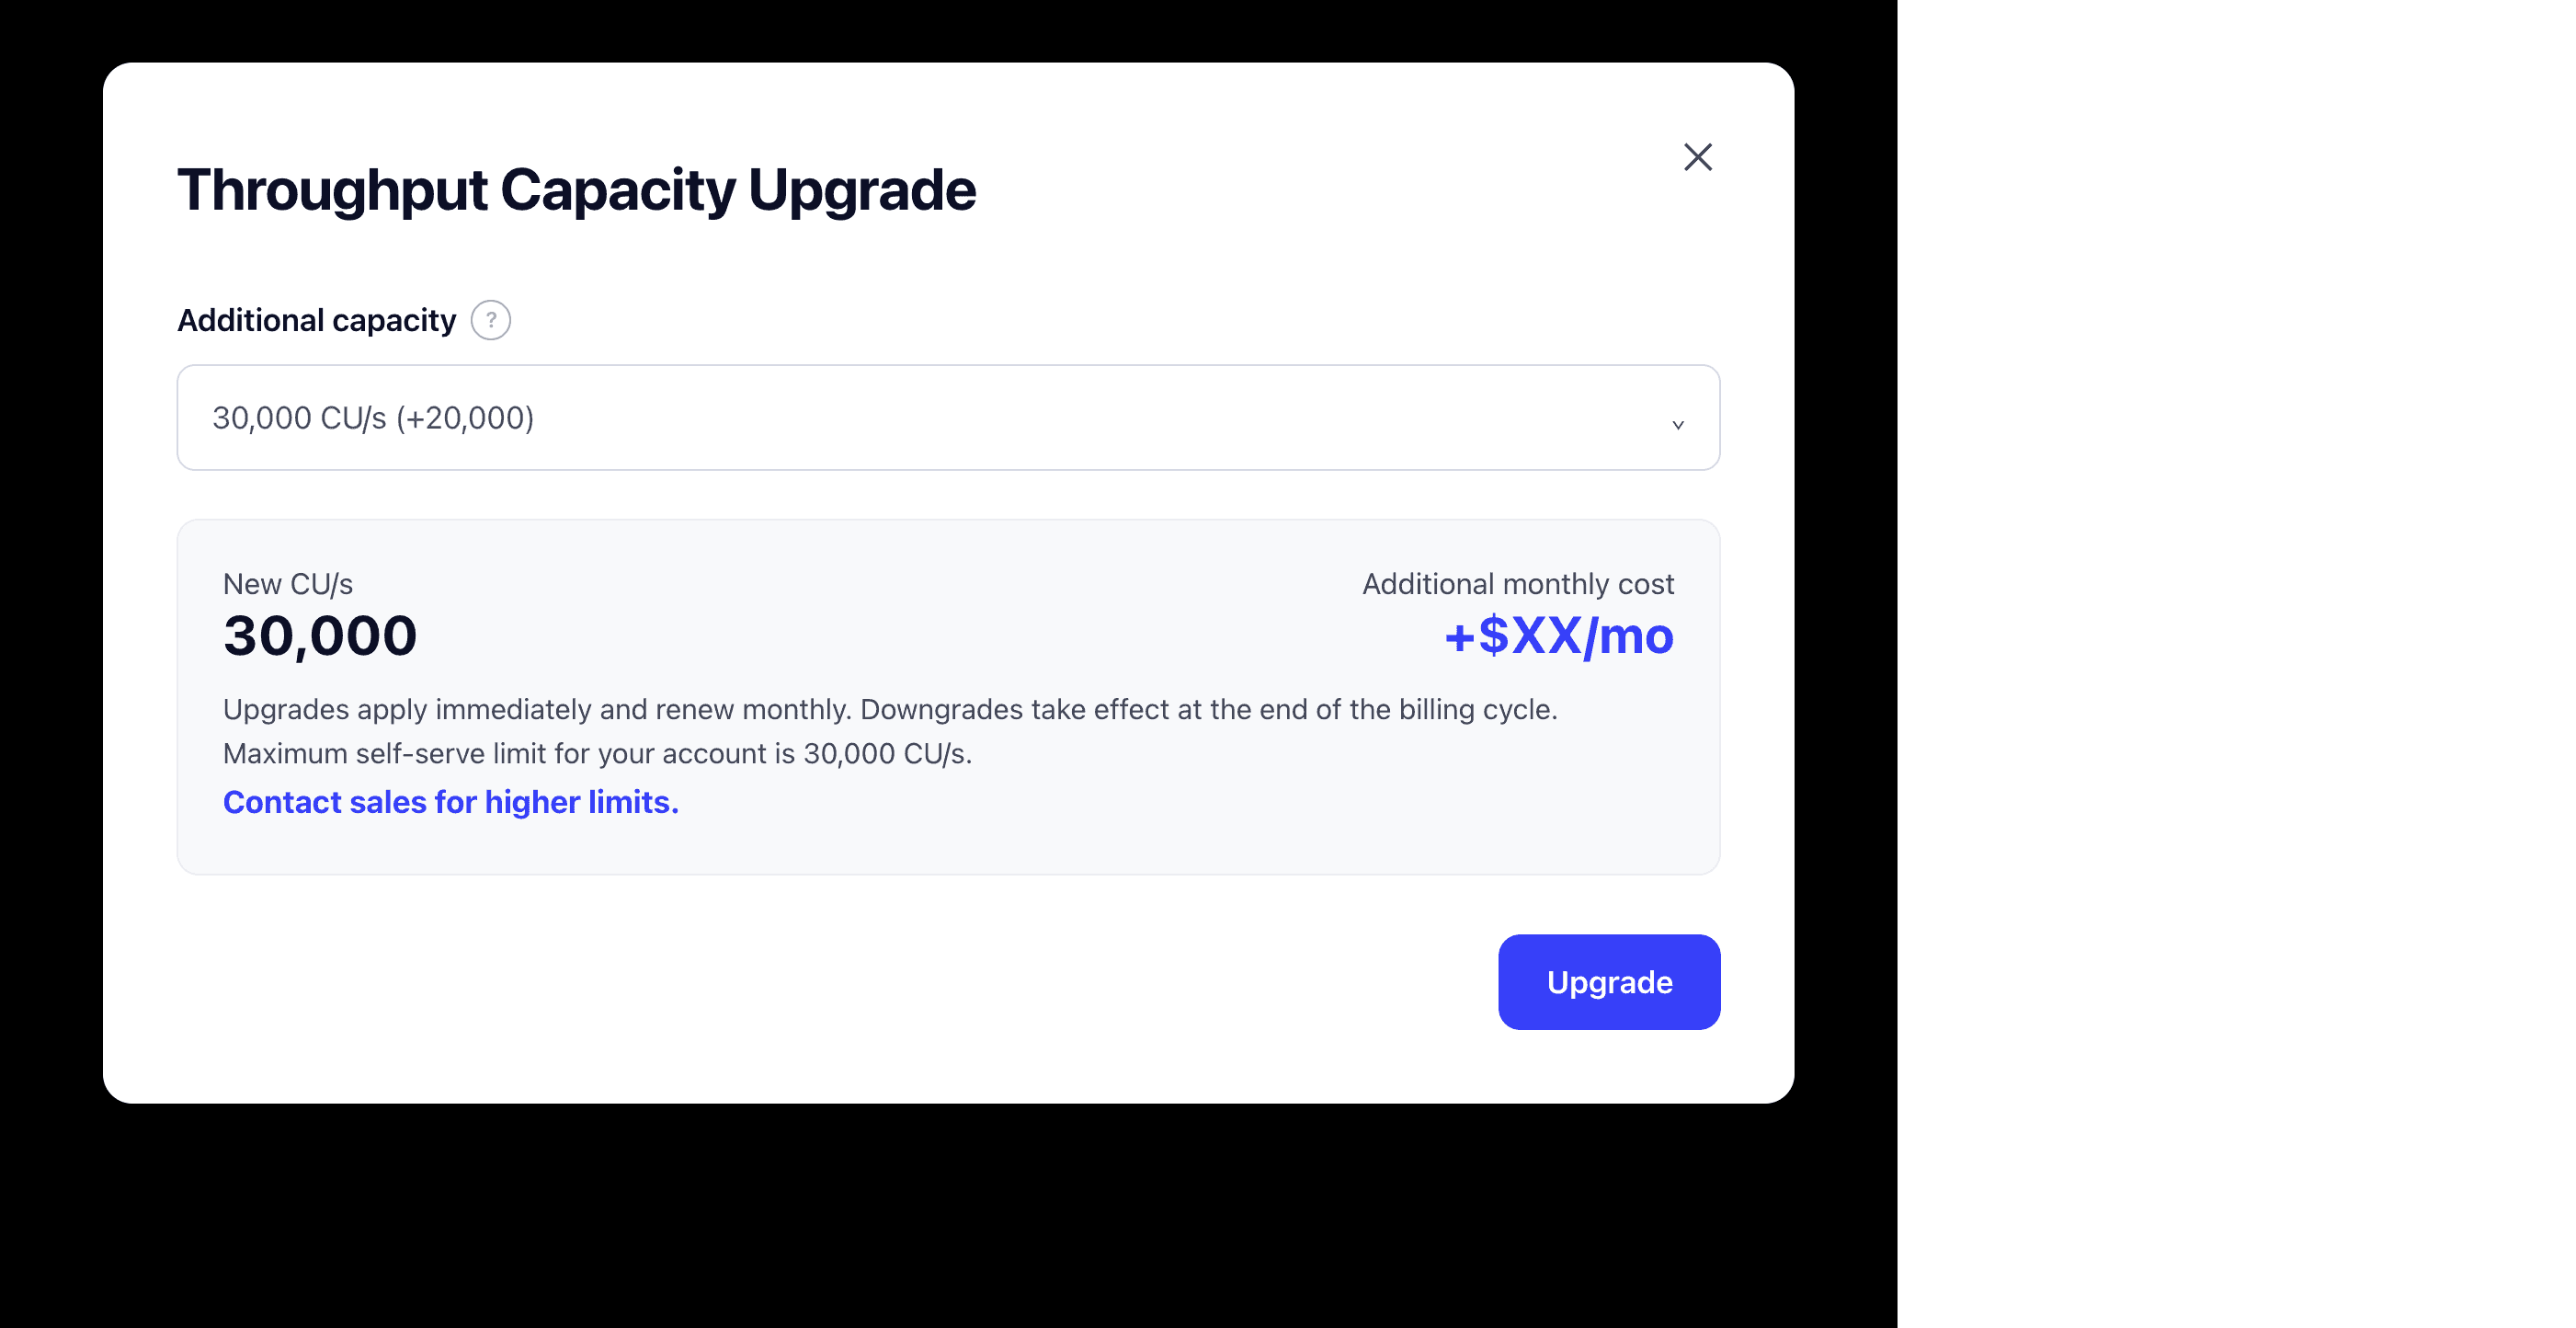
How far you can go depends on your plan:
Pay-as-you-go teams start at 10,000 CU/s and reach 30,000 CU/s on their own, with no Enterprise contract and no order form. Enterprise starting capacity is set per contract, so the baseline differs by account. Your upgrade modal shows the exact maximum for your team, and you climb toward it in fixed increments for as long as a full increment bucket fits underneath.
So anything short of your plan's self-serve maximum upgrade capacity is a decision your team makes without us, in under a minute, provided the person making it is a billing admin.
How much throughput do you actually need?
Start with the peak throughput card and chart on the Usage page, not the average. Averages smooth spikes out of view and will talk you into a limit that might fail during your next launch.
Treat that peak as a floor rather than a reading. We enforce the limit over ten seconds, but the chart plots one-minute averages, so the burst that actually tripped a 429 gets flattened into the minute around it and shows up lower than it was. To find out whether those spikes cost you requests or merely came close, filter Request Logs for 429 responses.
That gap between the two windows is most of the argument for buying headroom above the peak instead of matching it. Traffic that peaked at 12,000 CU/s once will peak higher eventually, and headroom is cheaper than an incident.
Retries and more throughput solve different problems, so it helps to know which problem you have:
- Retries suit a small fraction of 429s and workflows that tolerate extra latency. Our docs cover Retry-After headers and exponential backoff for exactly this case.
- More throughput is the answer for latency-sensitive paths and for traffic that is sustained above your limit rather than briefly over it. No backoff strategy fixes a workload that simply needs more capacity than it has.
Three workloads drive most upgrades: sustained growth as an app picks up users, indexing backfills that pull history as fast as the endpoint allows, and scheduled events like airdrops, token launches, and mints. The first is permanent and the other two are temporary, which is the reason the flow supports canceling as cleanly as it supports buying.
When should you talk to us instead?
Self-serve covers the common cases, not every case. Reach out when:
- You are past your plan's self-serve maximum and still growing.
- You want throughput negotiated into a contract instead of billed as a monthly add-on.
- A single chain, app or method in your workload spikes far harder than the rest, so a custom throughput would be a better fit than a team-wide capacity.
Those are volume and structure conversations, and our team of experts can facilitate them. Buying 5,000 CU/s of headroom to get through a spike is a smaller decision, so it lives in the dashboard where you can make it on your own schedule.
Get more throughput in seconds
Raise your capacity from the Alchemy dashboard today. It takes a dropdown and applies immediately, with no contract change. If you are not on a paid plan yet, our RPC API starts free and pay-as-you-go pricing carries no minimum commitment, so the upgrade path is open from your first billable day.
To see where your traffic is actually going, Alchemy Monitor puts request volume, errors, and latency in one place, and you can pull the same usage data from the Alchemy CLI.
Scaling past what self-serve covers? Talk to our sales team about volume pricing, and we will size the required capacity around the traffic you actually expect.
Alchemy Newsletter
Be the first to know about releases
Sign up for our newsletter
Get the latest product updates and resources from Alchemy
By entering your email address, you agree to receive our marketing communications and product updates. You acknowledge that Alchemy processes the information we receive in accordance with our Privacy Notice. You can unsubscribe anytime.

Related articles
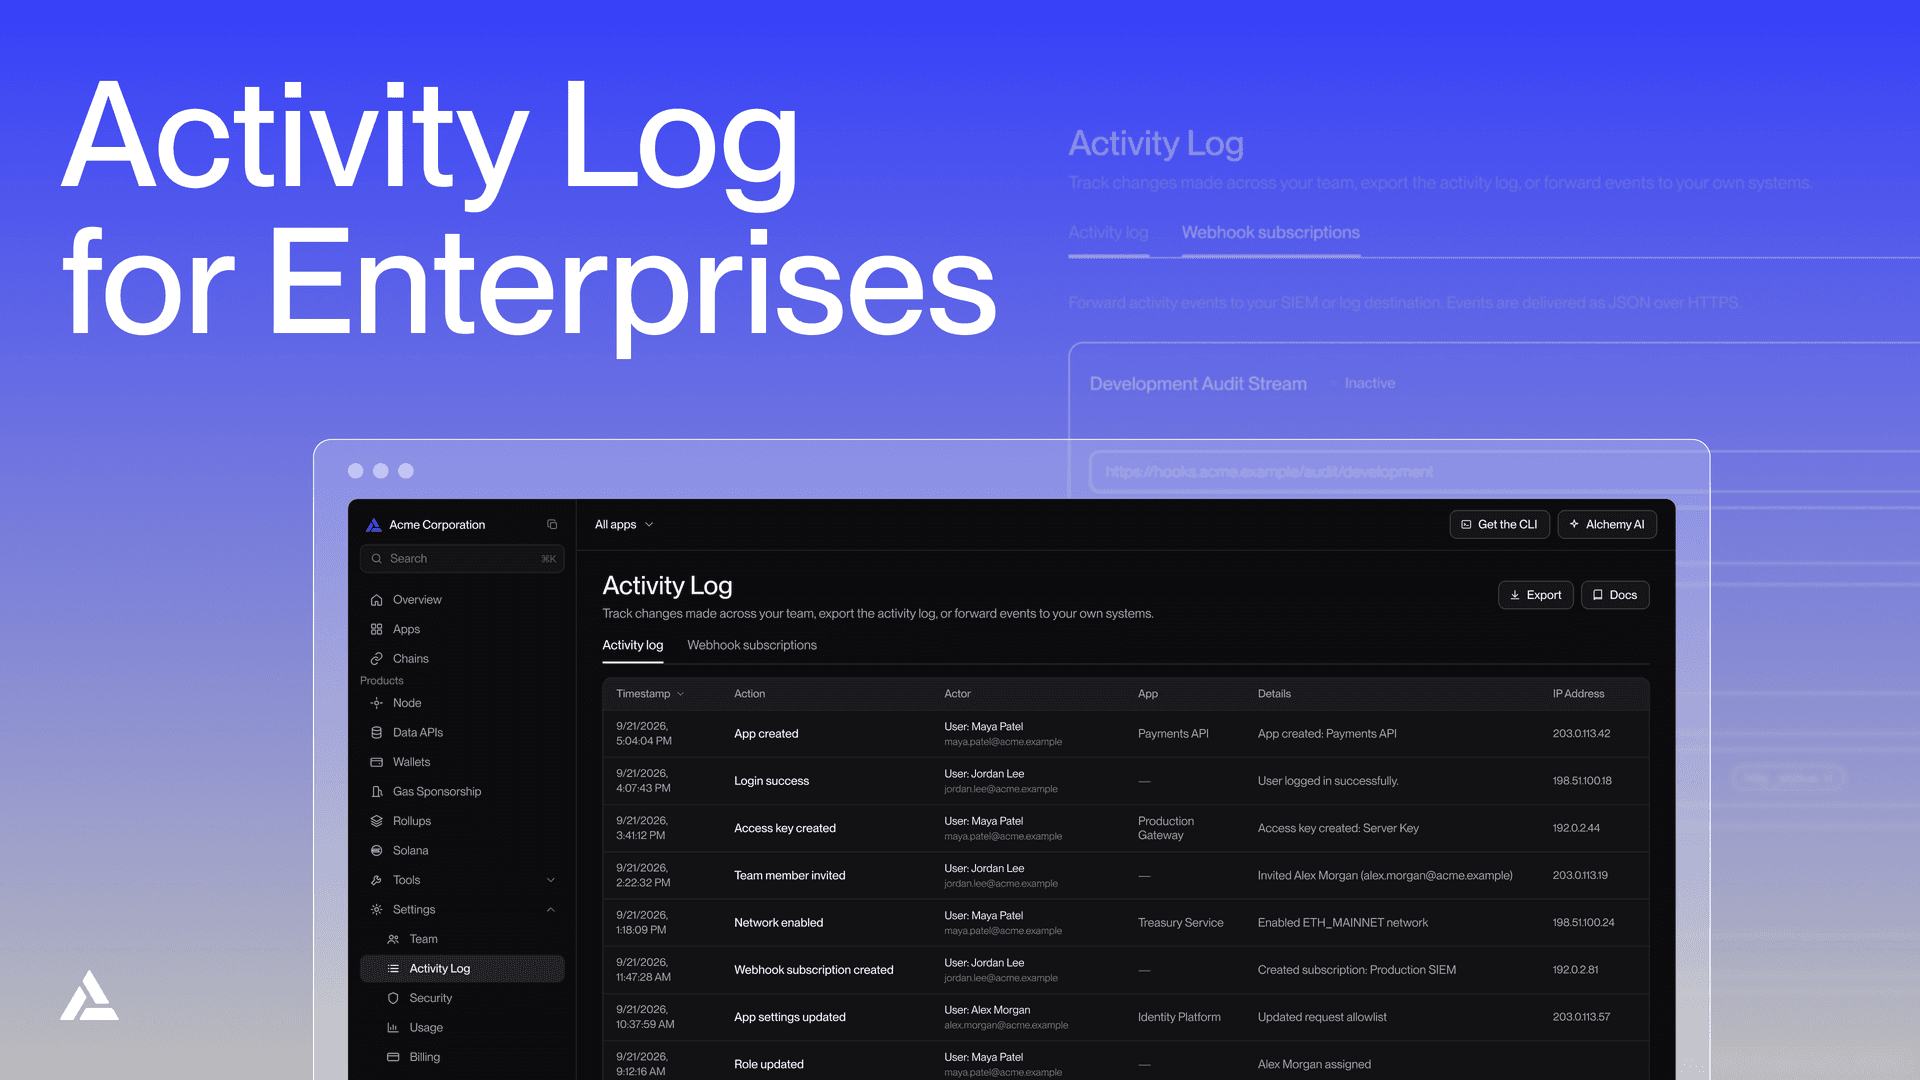
Introducing Activity Log for Enterprises
Activity Log is now available for enterprise teams. Review account changes in the dashboard, or send them to your SIEM.

What Solana builders ship on Alchemy
See how Solflare, Phantom, Collector Crypt, and other Solana teams build wallets, trading platforms, and real-world assets on Alchemy's Solana RPC and gRPC infrastructure.

Turn Claude Code into an onchain research agent
Turn Claude Code into an onchain research agent with the Alchemy CLI. Trace token launches, deployer wallets, and admin keys by asking the right questions.